
Introduction
In this article I will walk you through on How to Setup Your Raspberry PI As A VPN Router With A Kill Switch.
Did you know that a raspberry pi can be a cheap and great secure alternative to route all your traffic via a VPN?
I will break this review in the following sections:
- What you need to get started in terms of hardware and software
- How to do this without paying for anything other than an inexpensive $2/month VPS
- Provide you with all the code needed and instructions to get going super fast
This is a complete and easy to follow guide with step by step instructions providing all source code needed.
I have been using this setup successfully for the last 2 years without failure on a day to day basis. All of the things that I’m going to talk about here are not version specific and work with the base Raspberry PI project distributions (you can use the latest ones at the time without issues).
I’m going to keep all the steps simple and straight to the point to avoid you have to spend endless hours debugging or trying to figure out why things aren’t working. Hey if I missed something you are always welcome to ping me on twitter or via my contact page.
I have a lot of experience in security and network administration so I have kept everything to a minimum without any extras or bloatware. This guide is specifically designed for those that want to get straight into action with a lightweight setup that gets the job done.
I have successfully launched this setup in various versions of Raspberry PI starting from the early hardware version 2 to the latest 4. The requirements are minimal and it will work everywhere.
I have been working in the Software industry for over 23 years now and I have been a software architect, manager, developer and engineer. I am a machine learning and crypto enthusiast with emphasis in security. I have experience in various industries such as entertainment, broadcasting, healthcare, security, education, retail and finance.
All source code associated with this article can be found in my GitHub here.
Prerequisites
Here’s a list of things you will need before you start working on this project.
Please note if you already have installed Raspberry Pi in your device you can skip steps 1-2 of the pre-requisites.
SD Card
Before proceeding into setting things up you will need an SD card to flash the image to your SD if you have already done that it’s not a requirement.
Selecting The Raspberry Pi Distribution

You can find a list of all the Raspberry Pi distributions here. Feel free to select whichever you are more familiar with and suits you the best.
I personally like to use the Raspberry Pi OS Lite because it’s lightweight and does not come with any extras. Since our setup will be headless you don’t really need to do anything fancy here unless you want to dual purpose use it as a desktop environment as well which I do not recommend as it will reduce the security of your setup.
One thing to note is that the Lite version comes with 64bit support which I highly recommend if you are using newer hardware such as Version 3A+. You can find the full list in the above URL which has the distributions.
Once you select which version you want go ahead and download it following the instructions described here on how to set it up. The Raspberry Pi team provides good utilities for all operating systems to flash the firmware into your SD card and get going.
Clone The Git Repo To Get The Raspberry Pi VPN Kill Switch Files
You will need to download the kill switch vpn script for our raspberry pi system in order to proceed further down. To get this simply clone the repo from GitHub issuing the following command:
# HTTPs Method
> git clone https://github.com/unbiased-coder/raspi-vpn-router-kill-switch.git

# SSH Method
> git clone [email protected]:unbiased-coder/raspi-vpn-router-kill-switch.git
Having An OpenVPN Compatible Server/Service

Since you will be connecting somewhere to get going you will need to have an OpenVPN compatible server. While this setup can work with other propriatorey VPN services I do not recommend it for security and privacy reasons. Stick to the open source alternative of OpenVPN if you want to be safe.
Please note I’m not trying to discount the paid services out there this is just a personal preference and opinion. Also keep in mind that a lot of the known providers such as Private Internet Access and NordVPN provide OpenVPN configurations that you can use.
Since I like to manage my own OpenVPN server and do not like to have shared data hosting among other systems I maintain my own server which I have setup on a cheap VPS service. If you would like to learn how I’ve done this please send me a ping via my contact info and I’ll be happy to tell you how to do it or I may even write an article on it.
How To Setup Raspberry Pi As a VPN Router With A Kill Switch
Now that we have the pre-requisites out of the way lets move on how to setup your system and the dependencies you may need to get started and enjoying your brand new VPN service with a kill switch.
Package Installation
The first thing we need to do in order to get going is that we need to install some basic packages in our system that our scripts will leverage to get your VPN Router with a kill switch going.
> apt update
> apt upgrade
> apt install openvpn openssh-client openssh-client iptables
> reboot
So we basically just install in the above command OpenVPN, SSH and IPtables. Since in some versions IPtables may not be standard we need to make sure to reboot the system in case it updates our kernel or adds a kernel module.
Setup SSH Connection

The next step we need to do is setup our SSH connection to our server so we can easily access and change things. This works using the OpenSSH Client command line so it will be supported in all three operating systems Windows, Mac and Linux. The instructions will be identical.
Please note if you already know how to setup SSH or you already have done this you can skip this section entirely.
Create SSH Key To Connect To Raspberry Pi
If you don’t have an ssh key generated already please go ahead and create one using the following command:
> ssh-keygen -t ed25519
Follow the instructions and save it in whatever path you want to keep it in. Just make sure you store a safe copy of this. It should create the file you specified and along that a .pub file which is basically the public key which we will use to add into our Raspberry Pi VPN server to connect to it.
Add SSH Public Key to Raspberry Pi
In order to do this simply connect using password authentication now to the Raspberry Pi. The default credentials associated with your image can be found in the instructions page you had used earlier but you can also try the following:
- Username: pi
- Password: raspberry
If these don’t work then try looking them up as mentioned above.
Once you connect then simply add the public key file contents to your authorized keys file like this:
> echo "ssh-ed25519 KEYHERE alex@macbook" >> ~/.ssh/authorized_keys2
Now that this is added you may need to adjust the permissions of the file to be only readable and writeable by the user to do this you can run the following command:
> chmod -R og-rwx ~/.ssh
Create SSH Config In Your Host To Connect To Raspberry Pi
Now that we have setup on the Raspberry Pi with SSH access we can simply make a quick config ssh section to connect to it fast.
In order to do this in your host operating system edit the file ~/.ssh/config. If this does not exist simply create it.
The section you need to add should look like this:
Host pirouter
     User pi
     HostName 192.168.1.22
     IdentityFile /Users/user/.ssh/YOURKEY
Connecting to Raspberry Pi Router Using SSH
From now on you can simply connect to your router by typing the following command:
> ssh pirouter
This will log you into your Raspberry Pi Router using SSH with your secure private key file.
Upload And Setup The Script
Now that we have SSH setup we can proceed into uploading our file and setting things up.
Upload the Connection Script
First you need to get the connection script which is available in the git repo here.
If you haven’t downloaded the repo you will do that now as we will need this file further down as it was described earlier in the pre-requisites section.
The file you want to copy over is the raspi-vpn-kill-switch.sh to your Raspberry Pi router. In order to do this simply run the following command:
> scp raspi-vpn-kill-switch.sh pirouter:
This will copy the file in the Raspberry Pi home directory of the pi user.
Adjust Code
Once you download you should be presented with the following code that allows you to do this:
#!/bin/bash

clear

if [ "$#" -ne 1 ]; then
    echo "$0 <interface name>"
    exit -1
fi

IFACE=$1
echo "Using interface: $1"

echo "Killing previous instances of openvpn"
killall -9 openvpn

echo "Flushing iptables rules"
iptables -F
iptables -t nat -F
iptables -P INPUT ACCEPT
iptables -P OUTPUT ACCEPT
iptables -P FORWARD ACCEPT

echo "Current IP: `curl -s ifconfig.co`"

# temporarily block forwarding so nothing leaks if we restart this script
sysctl -w net.ipv4.ip_forward=0

# allow ssh
echo "Allowing incoming/outgoing SSH established on all interfaces"
iptables -A INPUT -p tcp --dport 22 -j ACCEPT
iptables -A OUTPUT -p tcp --sport 22 -j ACCEPT

echo "Allowing DHCP traffic"
iptables -A INPUT -j ACCEPT -p udp --dport 67:68 --sport 67:68
iptables -A OUTPUT -j ACCEPT -p udp --dport 67:68 --sport 67:68

echo "Allowing traffic on lo"
iptables -A OUTPUT -j ACCEPT -o lo
iptables -A INPUT -j ACCEPT -i lo

echo "Allowing traffic on tun"
iptables -A OUTPUT -j ACCEPT -o tun+
iptables -A INPUT -j ACCEPT -i tun+

# allow traffic from established connections
echo "Allowing already established traffic"
iptables -A INPUT -m conntrack --ctstate RELATED,ESTABLISHED -j ACCEPT

# allow openvpn uid, we need this prior we run openvpn because openvpn drops permissions at the end
# make sure the port number below reflects the one from your openvpn server
echo "Allowing openvpn traffic"
iptables -A OUTPUT -p udp -m udp --dport 1194 -j ACCEPT

# allow dns because it's a third party system app that tries to do it (and not openvpn)
echo "Allowing DNS for resolving openvpn server"
iptables -A OUTPUT -p udp --dport 53 -j ACCEPT

# allow traffic on tun0 and lo
echo "Allowing lo and tun interfaces"
iptables -A OUTPUT -j ACCEPT -o lo
iptables -A OUTPUT -j ACCEPT -o tun+

# allow forward traffic only from tun0
iptables -A FORWARD -m state --state ESTABLISHED,RELATED -j ACCEPT

# this is important we need to send all traffic that is being forwarded to tun0
iptables -A FORWARD -i $IFACE -o tun0 -j ACCEPT

# masq traffic on tun0
echo "Masquerading traffic on tun0"
iptables -t nat -A POSTROUTING -o tun0 -j MASQUERADE

# this is the path of your VPN configuration
openvpn PATH_TO_YOUR_VPN_FILE.ovpn &

echo "Waiting for VPN to initialize"
sleep 10

echo "Current IP: `curl -s ifconfig.co`"

echo "Setting policy in output and input chain to drop"
iptables -P OUTPUT DROP
iptables -P INPUT DROP
iptables -P FORWARD DROP

# block dns because it's a third party system app that tries to do it (and not openvpn)
echo "Blocking DNS for resolving openvpn server"
iptables -D OUTPUT -p udp --dport 53 -j ACCEPT

echo "Turning on IP forwarding"
sysctl -w net.ipv4.ip_forward=1
There’s a couple of small changes we need to make before we invoke the code:
- Adjust line 74 where it’s showing the path for your file this looks like this
openvpn PATH_TO_YOUR_VPN_FILE.ovpn &Simply put your path in there from your VPN service as discussed earlier.
-
Adjust line 52 with the port of your provide this looks like this
iptables -A OUTPUT -p udp -m udp –dport 1194 -j ACCEPTSimply replace 1194 with whatever your service is using it. The default may well be 1194 so you may not need to change it.
Start VPN Kill Switch Automatically In Raspberry Pi System Startup
Now that we have successfully edited our file we simply need to make an entry in our system setup to automatically start it. For this we will leverage the rc.local file which is present in most distributions. If it’s not you may need to add a service to it manually, more instructions can be found here.
To do this your rc.local file (/etc/rc.local) will look like this:
sudo PATH_TO/raspi-vpn-kill-switch.sh eth0 &
exit 0
The important part here is to preserve the interface name to what your system has. Since I use it on a wired interface in my case it’s eth0. If you are using a wireless interface it may be wlan0. The script is smart enough to adjust based on what you are using so feel free to adjust this.
Test It Out
To test this out we can simply reboot our system and try to use as a router in our host operating system the IP address of our Raspberry Pi system. If everything is fine you can go to a website that shows you the new IP and that should be the one from your router.
The easiest way to do this is to go to google.com and just type what is my ip address and this should show you the address of your VPN service provider instead of yours.
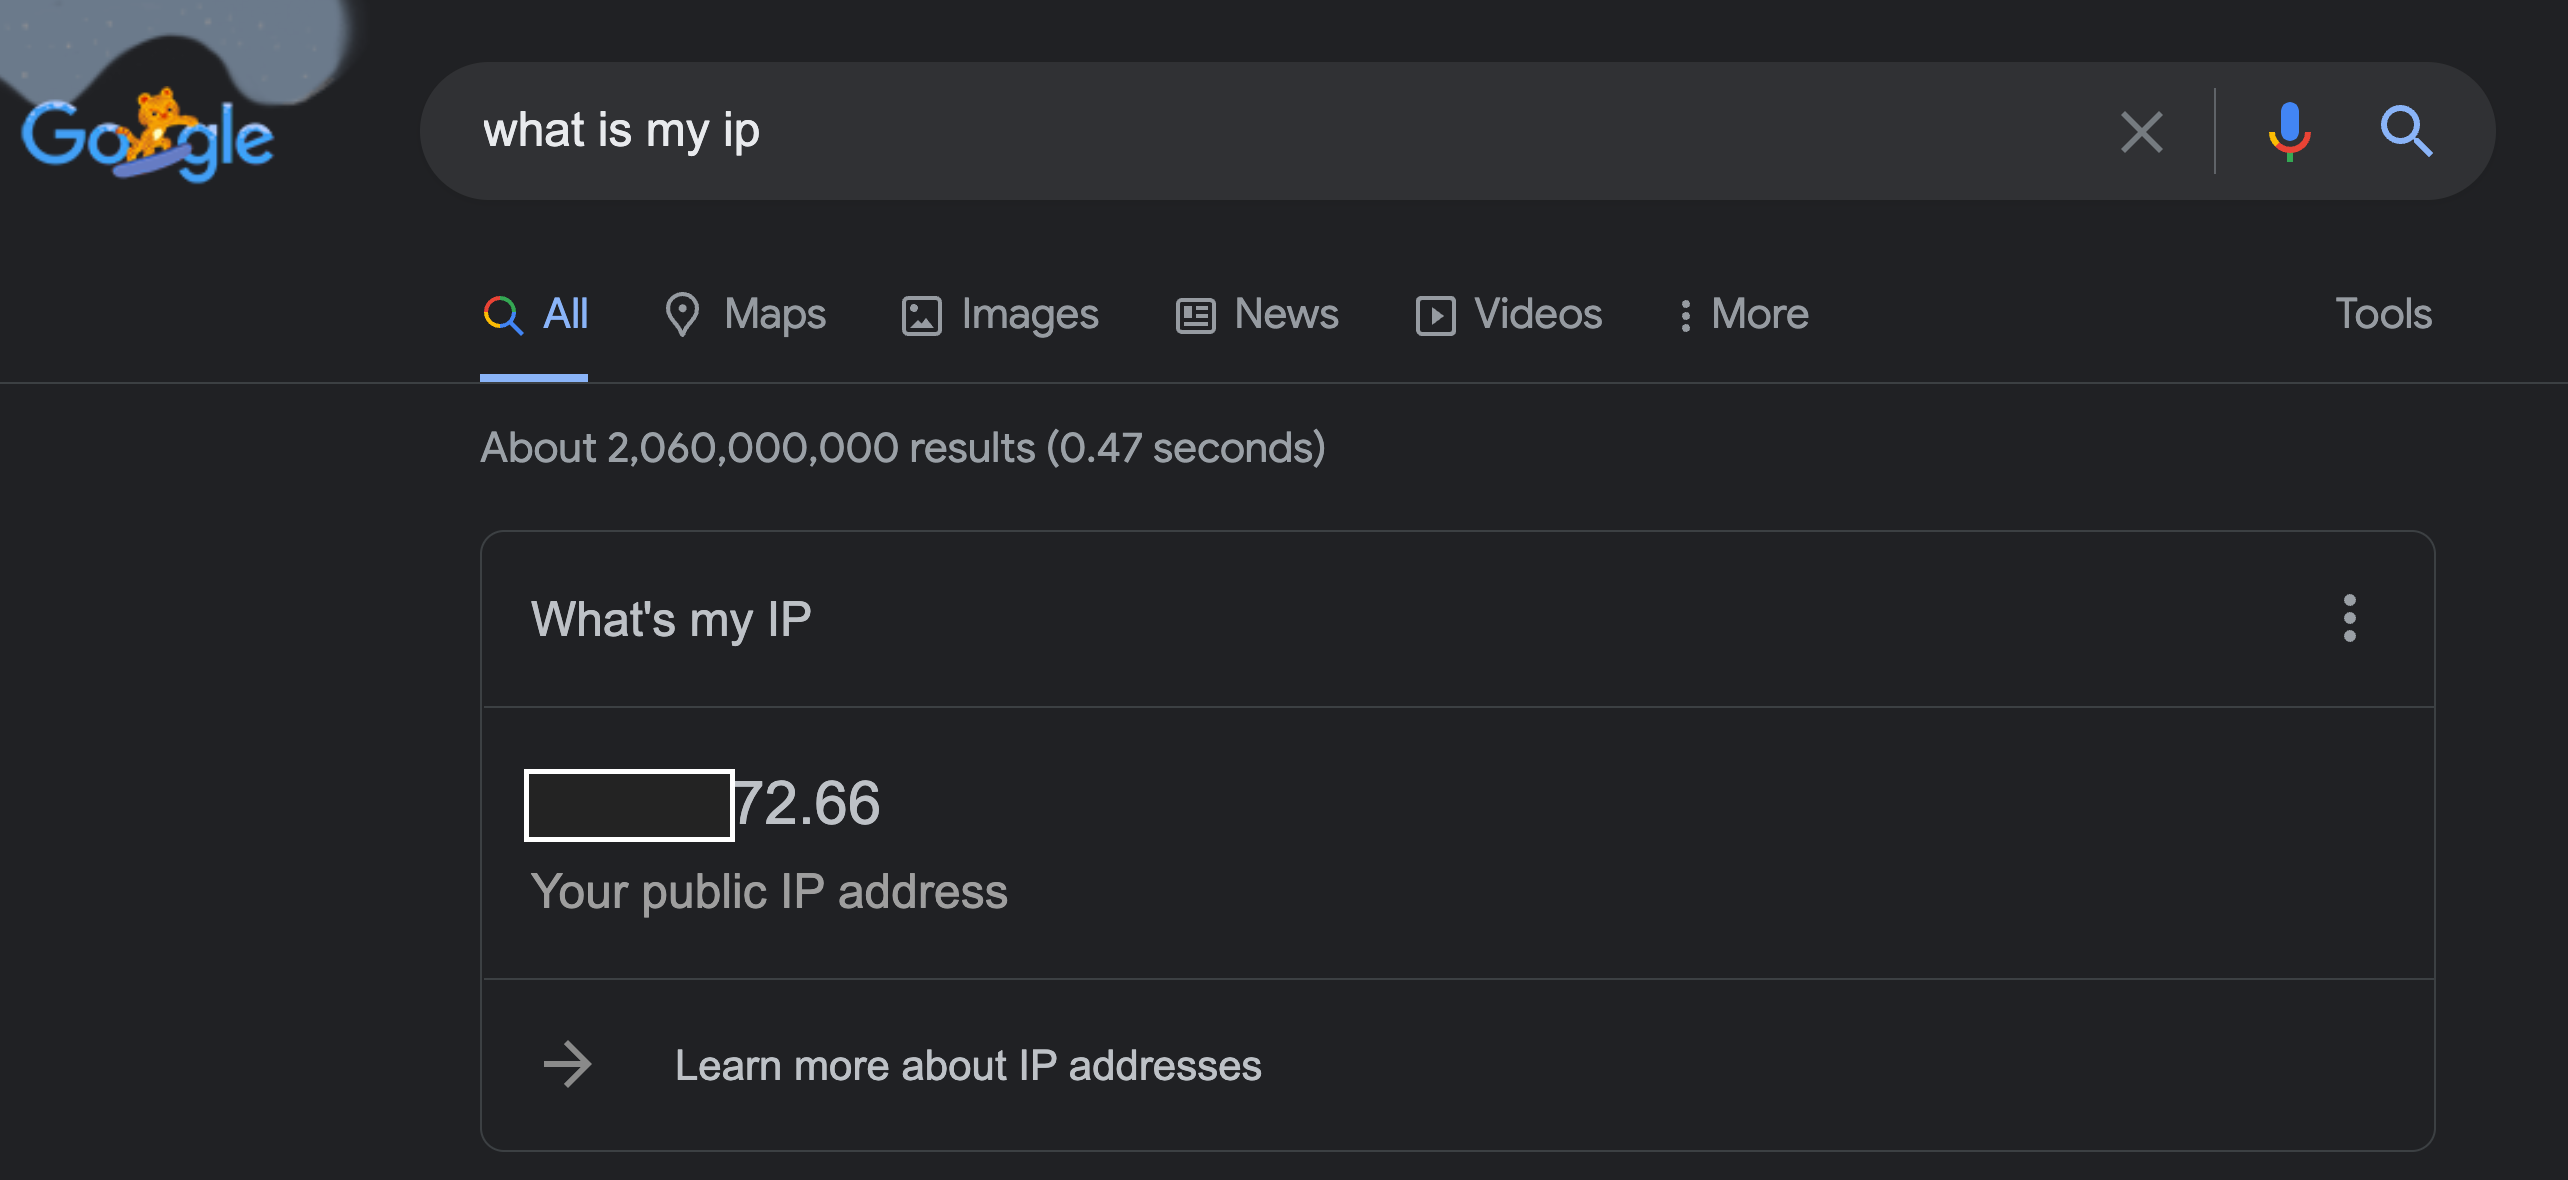
In the screenshot above Google is showing the IP of my VPN service provider rather than mine. This means the Raspberry Pi successfully routed the traffic through it for me.
VPN Kill Switch

The script automatically takes care of you having a kill switch if the connection to your VPN drops. This is accounted by the following IPTables policy rules which basically prohibit any outgoing traffic that’s not from the VPN to the destination.
echo "Setting policy in output and input chain to drop"
iptables -P OUTPUT DROP
iptables -P INPUT DROP
iptables -P FORWARD DROP
The reason the VPN traffic still goes through is because earlier in the script we allow any traffic going to the port of the VPN service to be allowed along with DNS requests in order to resolve any hostnames. This can be seen in the following commands:
echo "Allowing DNS for resolving openvpn server"
iptables -A OUTPUT -p udp --dport 53 -j ACCEPT

echo "Allowing openvpn traffic"
iptables -A OUTPUT -p udp -m udp --dport 1194 -j ACCEPT
Automatically Reboot Raspberry Pi If VPN Connection Dies
As mentioned earlier this is all automatically handled for you by the script itself and there’s nothing extra you need to do. Just know that if you connection to the VPN service drops you will need internet or to restart your computer.
I have also created another helper script that checks for you the internet connection automatically and if this does not work it reboots your Raspberry Pi Kill Switch VPN router.
You can find the code below that basically checks the usual domains such as google and bing to see if those are accessible if they are not then it will simply initiate a reboot command to bring back the Raspberry Pi online.
#!/bin/bash

ping -c 3 www.google.com

if [ $? -ge 1 ]; then
	echo "Did not get a response from google, trying to ping yahoo"

	ping -c 3 www.yahoo.com

	if [ $? -ge 1 ]; then
		echo "Did not get a response from yahoo, trying to ping bing"

		ping -c www.bing.com

		if [ $? -ge 1 ]; then
			echo "Did not get a response from bing rebooting the machine"
			sudo reboot
		fi
	fi
fi

exit 0
So this script can get initiated automatically via a crontab entry in order to reboot your router if the VPN service goes down. To do this you can add the following line in your crontab file in the Raspberry Pi Kill Switch VPN router.
*/15 * * * * /home/pi/raspi-vpn-router-kill-switch/checkvpn.sh
This will run every 15 minutes and see if the internet connection is up and running. If not it will go ahead and reboot your VPN router automatically for you.
Can I Use Raspberry Pi as A VPN Router
Yes as described above you can use the Raspberry Pi as a VPN Router and with the code I provided you have the extra functionality of having an available kill switch if your router goes offline.
How Do I Turn My Raspberry Pi Into a VPN
As described earlier you can easily turn your Raspberry Pi into a VPN using the source code provided in the GitHub repo here. And following the step by step guide mentioned earlier.
Is Raspberry Pi VPN Secure
The setup provided earlier is super secure as it only relies on two pieces of open source software:
- OpenVPN
- OpenSSH
Everything else is not needed in this system setup. You don’t need any special clients or software to get going and you can use your own hardened Linux distribution to host this setup.
Is Raspberry Pi VPN Kill Switch
By default Raspberry Pi does not offer a VPN Kill Switch however with the code described earlier you can easily do this and be ready to go. The kill switch functionality is implementing using a Linux native tool IPtables and nothing else. This gives you the flexibility of implementing it in any distribution without having to rely on external tools.
The full source code provided in the Github repo takes care of the entire implementation for you in an automated way.
How Secure Is OpenVPN on A Raspberry Pi
The setup described above is super secure as it locks down your machine’s ports from everything and provides a safe kill switch if your VPN connection does so no data is leaked outside the VPN connection. Furthermore it does not have any dependencies on third party software which may include spyware and other things that are unwanted.
Conclusion
If you found the How to Setup Your Raspberry PI As A VPN Router With A Kill Switch useful and you think it may have helped you please drop me a cheer below I would appreciate it.
If you have any questions, comments please post them below I check periodically and try to answer them in the priority they come in. Also if you have any corrections please do let me know and I’ll update the article with new updates or mistakes I did.
Which is your favorite Raspi distribution that you use?
My personal favorite the Raspberry Pi lightweight distribution because it’s pretty bare bones and can work faster without the load of extra services running in the background. Also I don’t like to have to maintain and update extra packages if it isn’t necessary.
If you would like to learn more about other Linux and system setup stuff you can check the articles below: