Introduction

We will go over How To Find All Images In Page Using Python.
Did you know that you can use Python to extract all images in a page?
Processing a webpage and finding things could be a tedious task especially if you are trying to automate this task. Today we will cover a way for you on how to accomplish this.
We will break down this in the following sections:
- Why it is useful to use Python to find all images in a page
- How To Find All Images In a Page
- Testing The Code With Various Pages
I have used this successfully in various projects and it works very well and has saved me a ton of time finding images in webpages.
We will go point by point on getting you up and running in less than 5mins, you do not need to have any programming knowledge to use the tool we are going to be developing here.
This is a complete guide and should cover all your questions on using Python to extract images from a page.
All code and examples on how to do this can be found in the Github link here.
Why It Is Useful To Use Python To Extract All Images In A Page
Before we start going over any coding, I would like to take sometime and list some of the reasons as to why I would use Python to automate finding all the images in a webpage. While there are many reasons to do this programmatically as a task, there are even more compelling reasons as to why you would want to do this with Python in specific.
Lets go over the list and analyze them point by point.
- Python offers two great libraries for handling the majority of this process.
- requests: The requests library lets you download a webpage and find the html contents of it without having to write any boiler plate code. This abstracts a lot of complexity from your code with a few lines of just calling the library.
- beautifulsoup: This is another great library that helps us perform the task in action here. More specifically it analyzes the html contents that the requests library gives back to us and splits it up based on the html tags. Based on this split up and analysis you can perform queries on it as we will see later on this article.
- Automating the process could be added in a plethora of analysis tools that work on the images. Some examples of these are:
- Scraping and extracting pictures
- Picture checking (find missing pictures etc)
- Web spidering and mirroring galleries
- Analytics and metrics on popular images
- Besides automation now you can add business logic in your code once you have picture extraction.
- You can perform operations in batch jobs and scale it out. Typically analyzing a page and extracting links is a very tedious and long process. Having code that runs and performs this for you is life saving and allows you to focus on other more important things.
- Sharing the code with other websites and platforms. Once you implement the code this can become a library and be shared among peers or other projects that could benefit from the things we listed earlier.
How To Setup BeautifulSoup And Requests
Now that we have listed a few reasons as to why it’s important to have automation in your arsenal, we will cover how to get your environment setup and running.
To do this we assume you have two things installed in your system:
- Python: The Python programming language
- Virtualenv: This is the virtual environment app that Python uses
- PIP: The Python package manager
There’s a lot of resources online documentation how to get those installed in your system so for this guide I am going to skip the part on how to get those installed.
Let’s go over how you can set up now the two packages we described earlier:
- BeautifulSoup
- Requests
To do this we need to follow these steps:
- Initialize a virtual environment that we will use and activate it
- Install the requirements as supplied int he requirements.txt file that I added in the Github repo which you can find here.
Additionally, by extracting images from webpages using Python, you can integrate them seamlessly into various free photo editing tools available online, enhancing your workflow with effortless image manipulation and customization.
This process can be seen below.
$ virtualenv venv
created virtual environment CPython3.9.12.final.0-64 in 180ms
  creator CPython3Posix(dest=/Users/alex/code/unbiased/python-extract-urls-from-page/venv, clear=False, no_vcs_ignore=False, global=False)
  seeder FromAppData(download=False, pip=bundle, setuptools=bundle, wheel=bundle, via=copy, app_data_dir=/Users/alex/Library/Application Support/virtualenv)
    added seed packages: pip==22.0.4, setuptools==62.1.0, wheel==0.37.1
  activators BashActivator,CShellActivator,FishActivator,NushellActivator,PowerShellActivator,PythonActivator

$ source venv/bin/activate

$ pip install -r requirements.txt
Collecting requests
  Using cached requests-2.27.1-py2.py3-none-any.whl (63 kB)
Collecting beautifulsoup4
  Downloading beautifulsoup4-4.11.1-py3-none-any.whl (128 kB)
     ━━━━━━━━━━━━━━━━━━━━━━━━━━━━━━━━━━━━━━━━ 128.2/128.2 KB 2.0 MB/s eta 0:00:00
Collecting idna<4,>=2.5
  Using cached idna-3.3-py3-none-any.whl (61 kB)
Collecting urllib3<1.27,>=1.21.1
  Using cached urllib3-1.26.9-py2.py3-none-any.whl (138 kB)
Collecting certifi>=2017.4.17
  Using cached certifi-2021.10.8-py2.py3-none-any.whl (149 kB)
Collecting charset-normalizer~=2.0.0
  Using cached charset_normalizer-2.0.12-py3-none-any.whl (39 kB)
Collecting soupsieve>1.2
  Downloading soupsieve-2.3.2.post1-py3-none-any.whl (37 kB)
Installing collected packages: certifi, urllib3, soupsieve, idna, charset-normalizer, requests, beautifulsoup4
Successfully installed beautifulsoup4-4.11.1 certifi-2021.10.8 charset-normalizer-2.0.12 idna-3.3 requests-2.27.1 soupsieve-2.3.2.post1 urllib3-1.26.9
As you can see this has successfully installed the Python dependencies in our system. We can now proceed into checking how we can implement the code that makes use of these libraries and puts everything together.
How To Find All Pictures In a Page
To implement this code as mentioned earlier we will be making use of the two Python packages that will make the code shorter and easier to understand. Lets start by analyzing how this code works in a step by step example.
- First we will be defining the base website we will be using to download images from, in this first example we will simple use google.com
- Once this is defined the next step is to use the requests library to download the html contents of this page.
- The next step is to extract the downloaded html from the content we received
- We then use the downloaded html content and pass it to Beautifulsoup so it can parse it out and break it down to html tags
- From the html tags we then extract only the type that are <img>
- From those <img> tags we read in the src value which is basically the URL we are looking for and print it out
- Once we have the URL then we can use a download function as shown below to get the image, the download works as follows:
- Checks if the http/https prefix exists in the url, if not it simply adds it from the base URL we had above
- Once it adds the base prefix then it uses the requests library download the content
- Finally we save the content in the file
- We find the file to save it on by extracting the last bit of the URL from the location URL so if it was https://google.com/logo.png we will simply pull the logo.png and use that as a filename.
- The filenames are saved locally in the folder it is being executed from.
from telnetlib import TUID
import requests

from bs4 import BeautifulSoup

page = 'https://www.google.com'


def download_image(url):
    if 'http' != url[:4]:
        turl = page + url
    else:
        turl = url

    print(f'Downloading file: {turl}')
    res = requests.get(turl)
    save_location = turl.split('/')[-1]
    print (f'Saving file to: {save_location}')
    with open(save_location, 'wb') as fd:
        fd.write(res.content)
    print (f'Successfully saved file')

print (f'Downloading page: {page}')
res = requests.get(page)

print (f'Got back response: {res.status_code}')
print (f'Page length: {len(res.text)}')

html = res.text
bs = BeautifulSoup(html, features='html.parser')

for url in bs.find_all('img'):
    download_image(url.get('src'))
The code above demonstrates the steps we outlined. The next step is to take our code and test it out in a few websites, which we will be doing in the section that follows.
Testing Our Code With Various Pages
We can begin our testing process by running this against google.com. The popular search engine giant’s main page has some images and we will see if our code can extract those successfully and print them out.
To do this we invoke our code and observe the execution behavior.
$ python ./python-extract-images-page.py
Downloading page: https://www.google.com
Got back response: 200
Page length: 16030
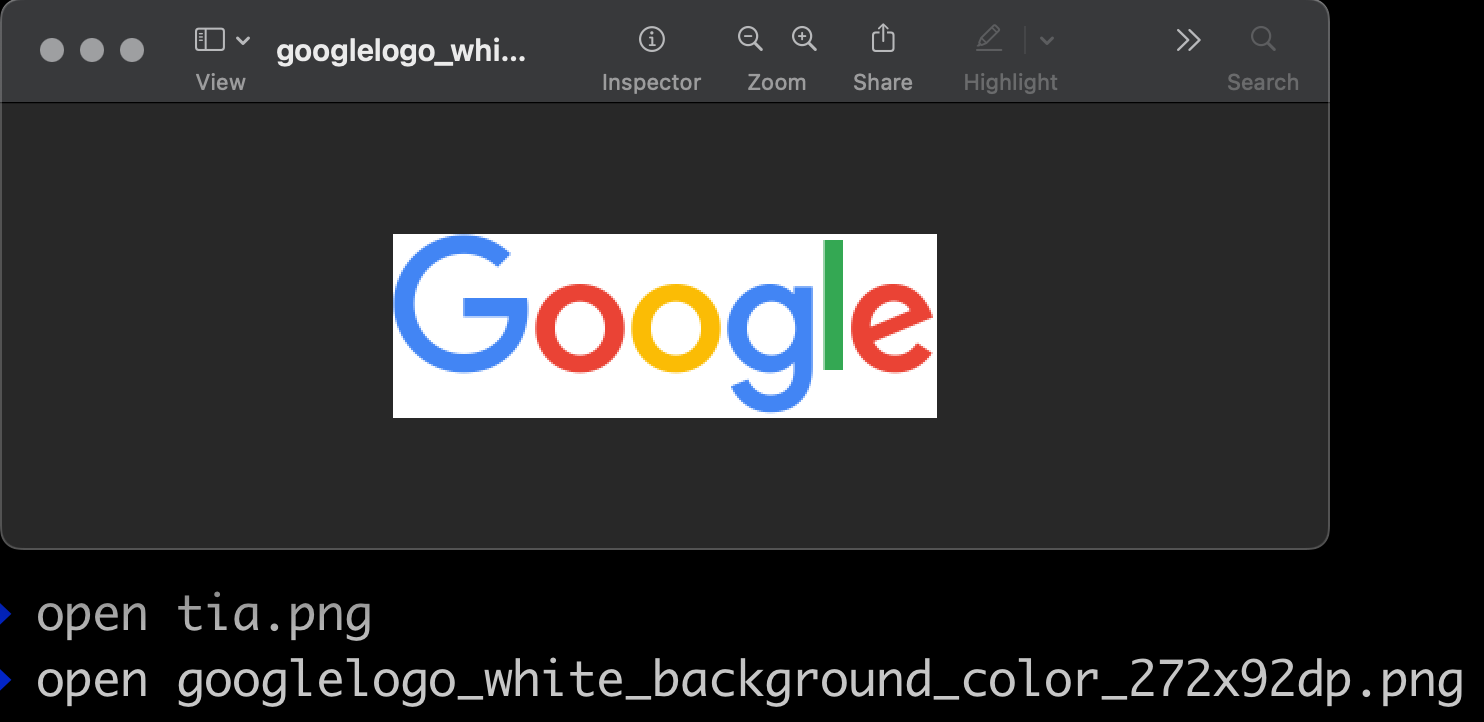
Downloading file: https://www.google.com/images/branding/googlelogo/1x/googlelogo_white_background_color_272x92dp.png
Saving file to: googlelogo_white_background_color_272x92dp.png
Successfully saved file
Downloading file: https://www.google.com/textinputassistant/tia.png
Saving file to: tia.png
Successfully saved file
As it can be seen above we are getting the results as expected. If you see in Googles page at the very bottom it has some links such as:
- tia.png: This is just a keyboard picture
- googlelogo_white_background: This is the google logo.
To verify the code worked we will be opening one of the images in this case the google logo to see if we have successfully downloaded this file.

All of the above can be seen in the print out as a self descriptive url names. It must be noted that some of those URLs may not have the full prefix which is the root domain of the page in this case https://google.com, so we can easily pre-pend this to them and we will have the complete fully qualified URL for each page.
Furthermore to continue our testing we will give our code another test run to see how well it works. What could be better than testing it in this blog Unbiased Code.
For simplicity the code execution has been abstracted as there’s a lot of actual links that are found in the main page. Since the code is bundled in the Github repo here, you can always download the code and execute it on your own as shown below.
$ python ./python-extract-images-page.py
Downloading page: https://unbiased-coder.com
Got back response: 200
Page length: 85659
Downloading file: https://unbiased-coder.com/wp-content/uploads/2021/09/unbiased-coder-logo-white-cropped.png
Saving file to: unbiased-coder-logo-white-cropped.png
Successfully saved file
Downloading file: https://unbiased-coder.com/wp-content/uploads/2022/05/Automatic-AI-Content-Writing.png
Saving file to: Automatic-AI-Content-Writing.png
Successfully saved file
Downloading file: https://unbiased-coder.com/wp-content/uploads/2022/05/Resize-Rotate-Python.png
Saving file to: Resize-Rotate-Python.png
Successfully saved file
Downloading file: https://unbiased-coder.com/wp-content/uploads/2022/05/Youtube-Downloader.png
Saving file to: Youtube-Downloader.png
Successfully saved file
Downloading file: https://unbiased-coder.com/wp-content/uploads/2022/04/PynamoDB-Python-DynamoDB-ORM.png
Saving file to: PynamoDB-Python-DynamoDB-ORM.png
Successfully saved file
.....
The code has successfully managed to pull all the URLs from the https://unbiased-coder.com website.
There’s one thing that we need to take note off here and this is that you will need to make a small code adjustment to try a new URL. Since in the code shown earlier in the implementations section we had the following line:
page = 'https://www.google.com'
The line above obviously points to the Google webpage. To run it on a different website we simply need to adjust the value there to whatever URL we want to pull the links from. So for example if we were to run this against the unbiased coder website this would look something like this.
page = 'https://unbiased-coder.com'
Furthermore we noticed that some of the URLs contained an invalid character such as the a comma ‘,’. For this to avoid causing issues with our code we add another code check at the beginning of our download function to ignore those files.
if ',' in url:
   return
The rest of the code can remain intact and you can use it the same way. Do note that you can also pass in specific URL prefixes and it does not necessarily need to be a top level domain. However if you are passing parameters to the code make sure they are escaped properly and they are in URL encoded format in order for it to work properly.
If you are uncertain on how to do this you and see how a browser like Google Chrome or Safari translates this for you. I can also help you if you need me to elaborate on it by dropping me a line below.
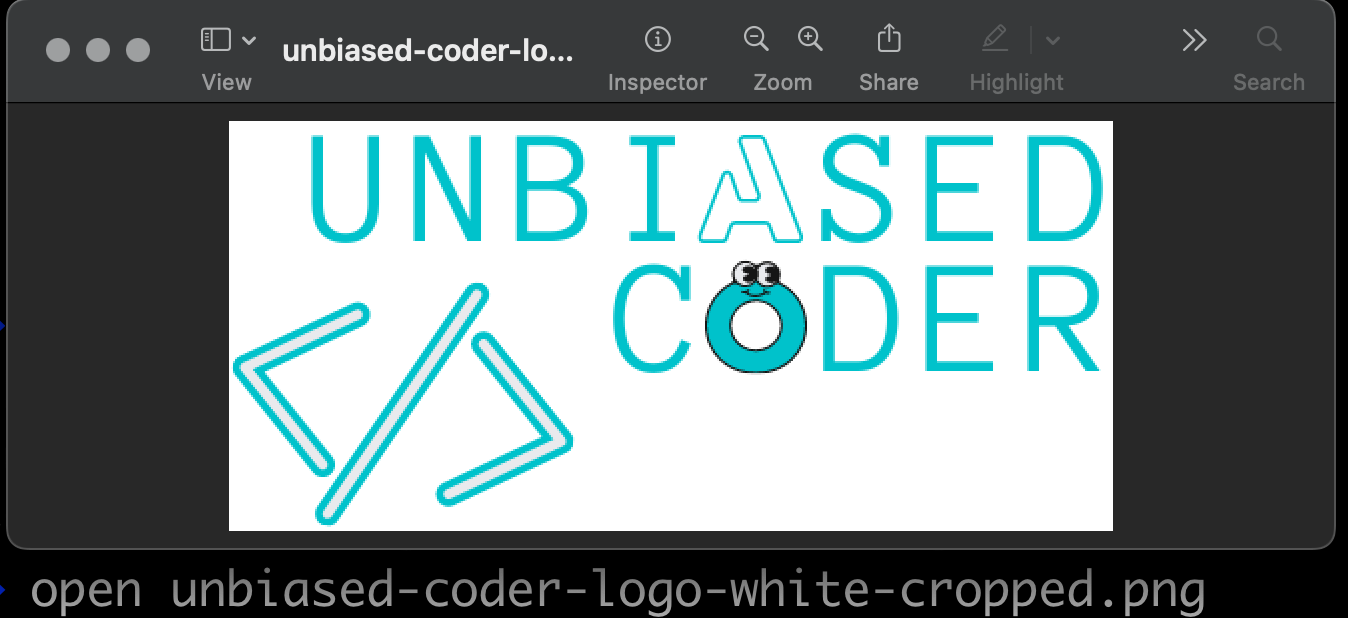
To demonstrate we also downloaded files correctly from our new website lets go ahead and open one of them.

As shown above you can clearly see we downloaded the unbiased coder logo among other pictures from he unbiased coder website. This successfully demonstrates that our code works across multiple websites.
Conclusion
We were able to successfully go over How To Find All Images In Page Using Python, hopefully I answered any questions you may have had and helped you get started on your quest of finding pictures in a webpage.
If you found this useful and you think it may have helped you please drop me a cheer below I would appreciate it.
If you have any questions, comments please post them below or send me a note on my twitter. I check periodically and try to answer them in the priority they come in. Also if you have any corrections please do let me know and I’ll update the article with new updates or mistakes I did.
Would you consider using code to extract images from a page?
I personally use this extensively for various research reasons. Python can be a great tool to perform these actions in your scraping, analytics and mining code. Offcourse only use this in websites you have permission to use it for or ones that the terms of service of the website allows it.
If you would like to visit the official BeautifulSoup documentation here.
If you would like to find more articles related to automating tasks with Python you can check the list below: